Image Optimization and Recommendations
Image Recommendations
File Type: PNG or JPG, GIF (Blurb only)
Recommended File Size: Less than 3mb Max File Size: 10mb
Recommended Dimensions: 1200px x 1200px Max Dimensions*: 2400px x 2400px
*Product images larger than 2400px on any side will be resized to these max dimensions on Brandboom.
Resize images
Images uploaded to Brandboom must be smaller than 5000px × 5000px.
If you have a lot of images that need to be resized, we recommend using a program that can process a large number of images together. For example, Photoshop, IrfanView (Windows), or Preview (Mac).
Warning: Some programs will overwrite your original images with the newly resized images by default. Double check to make sure the program saves to a new directory.
DPI or "Resolution"
With only a few exceptions, you will almost never need to specify or check for DPI since it's automatically set for your images.
However, if you are exporting images from a graphics program which gives you this option, it is important to remember that your images should be saved normally or for Web. Saving for Print may introduce color issues (RGB vs. CMYK) or size issues (300dpi vs. 72dpi).
Many graphics or image editing programs have a special function for saving or exporting images that is different from their default "Save" function. Examples include "Export" or "Save for Web." These functions come with a specific set of features that allow you to generate the best possible image file from your original design file.
If you must specify DPI, use 72dpi for web. Do not use 300dpi for your images since it will inflate the size of your image files and make it more difficult to use when being processed.
Ultimately, what will determine the quality of your image is the pixel dimensions (e.g. 300px × 400px vs. 1200px × 1600px).
Crop for Best Quality
The Product Tile image is resized and compressed significantly to improve load times for you and your Buyer.
It's important to crop your images closely to maximize the level of detail visible in this view and other thumbnail views.
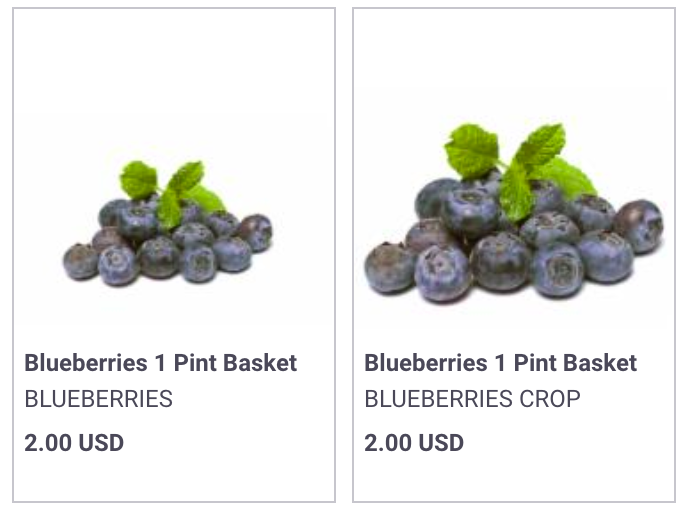
Here are examples of the same product image cropped with a lot of white space (left) and less white space (right).

The less white space you leave around your product, the more space it can fill in the image area, and the more detail will be visible.
Example
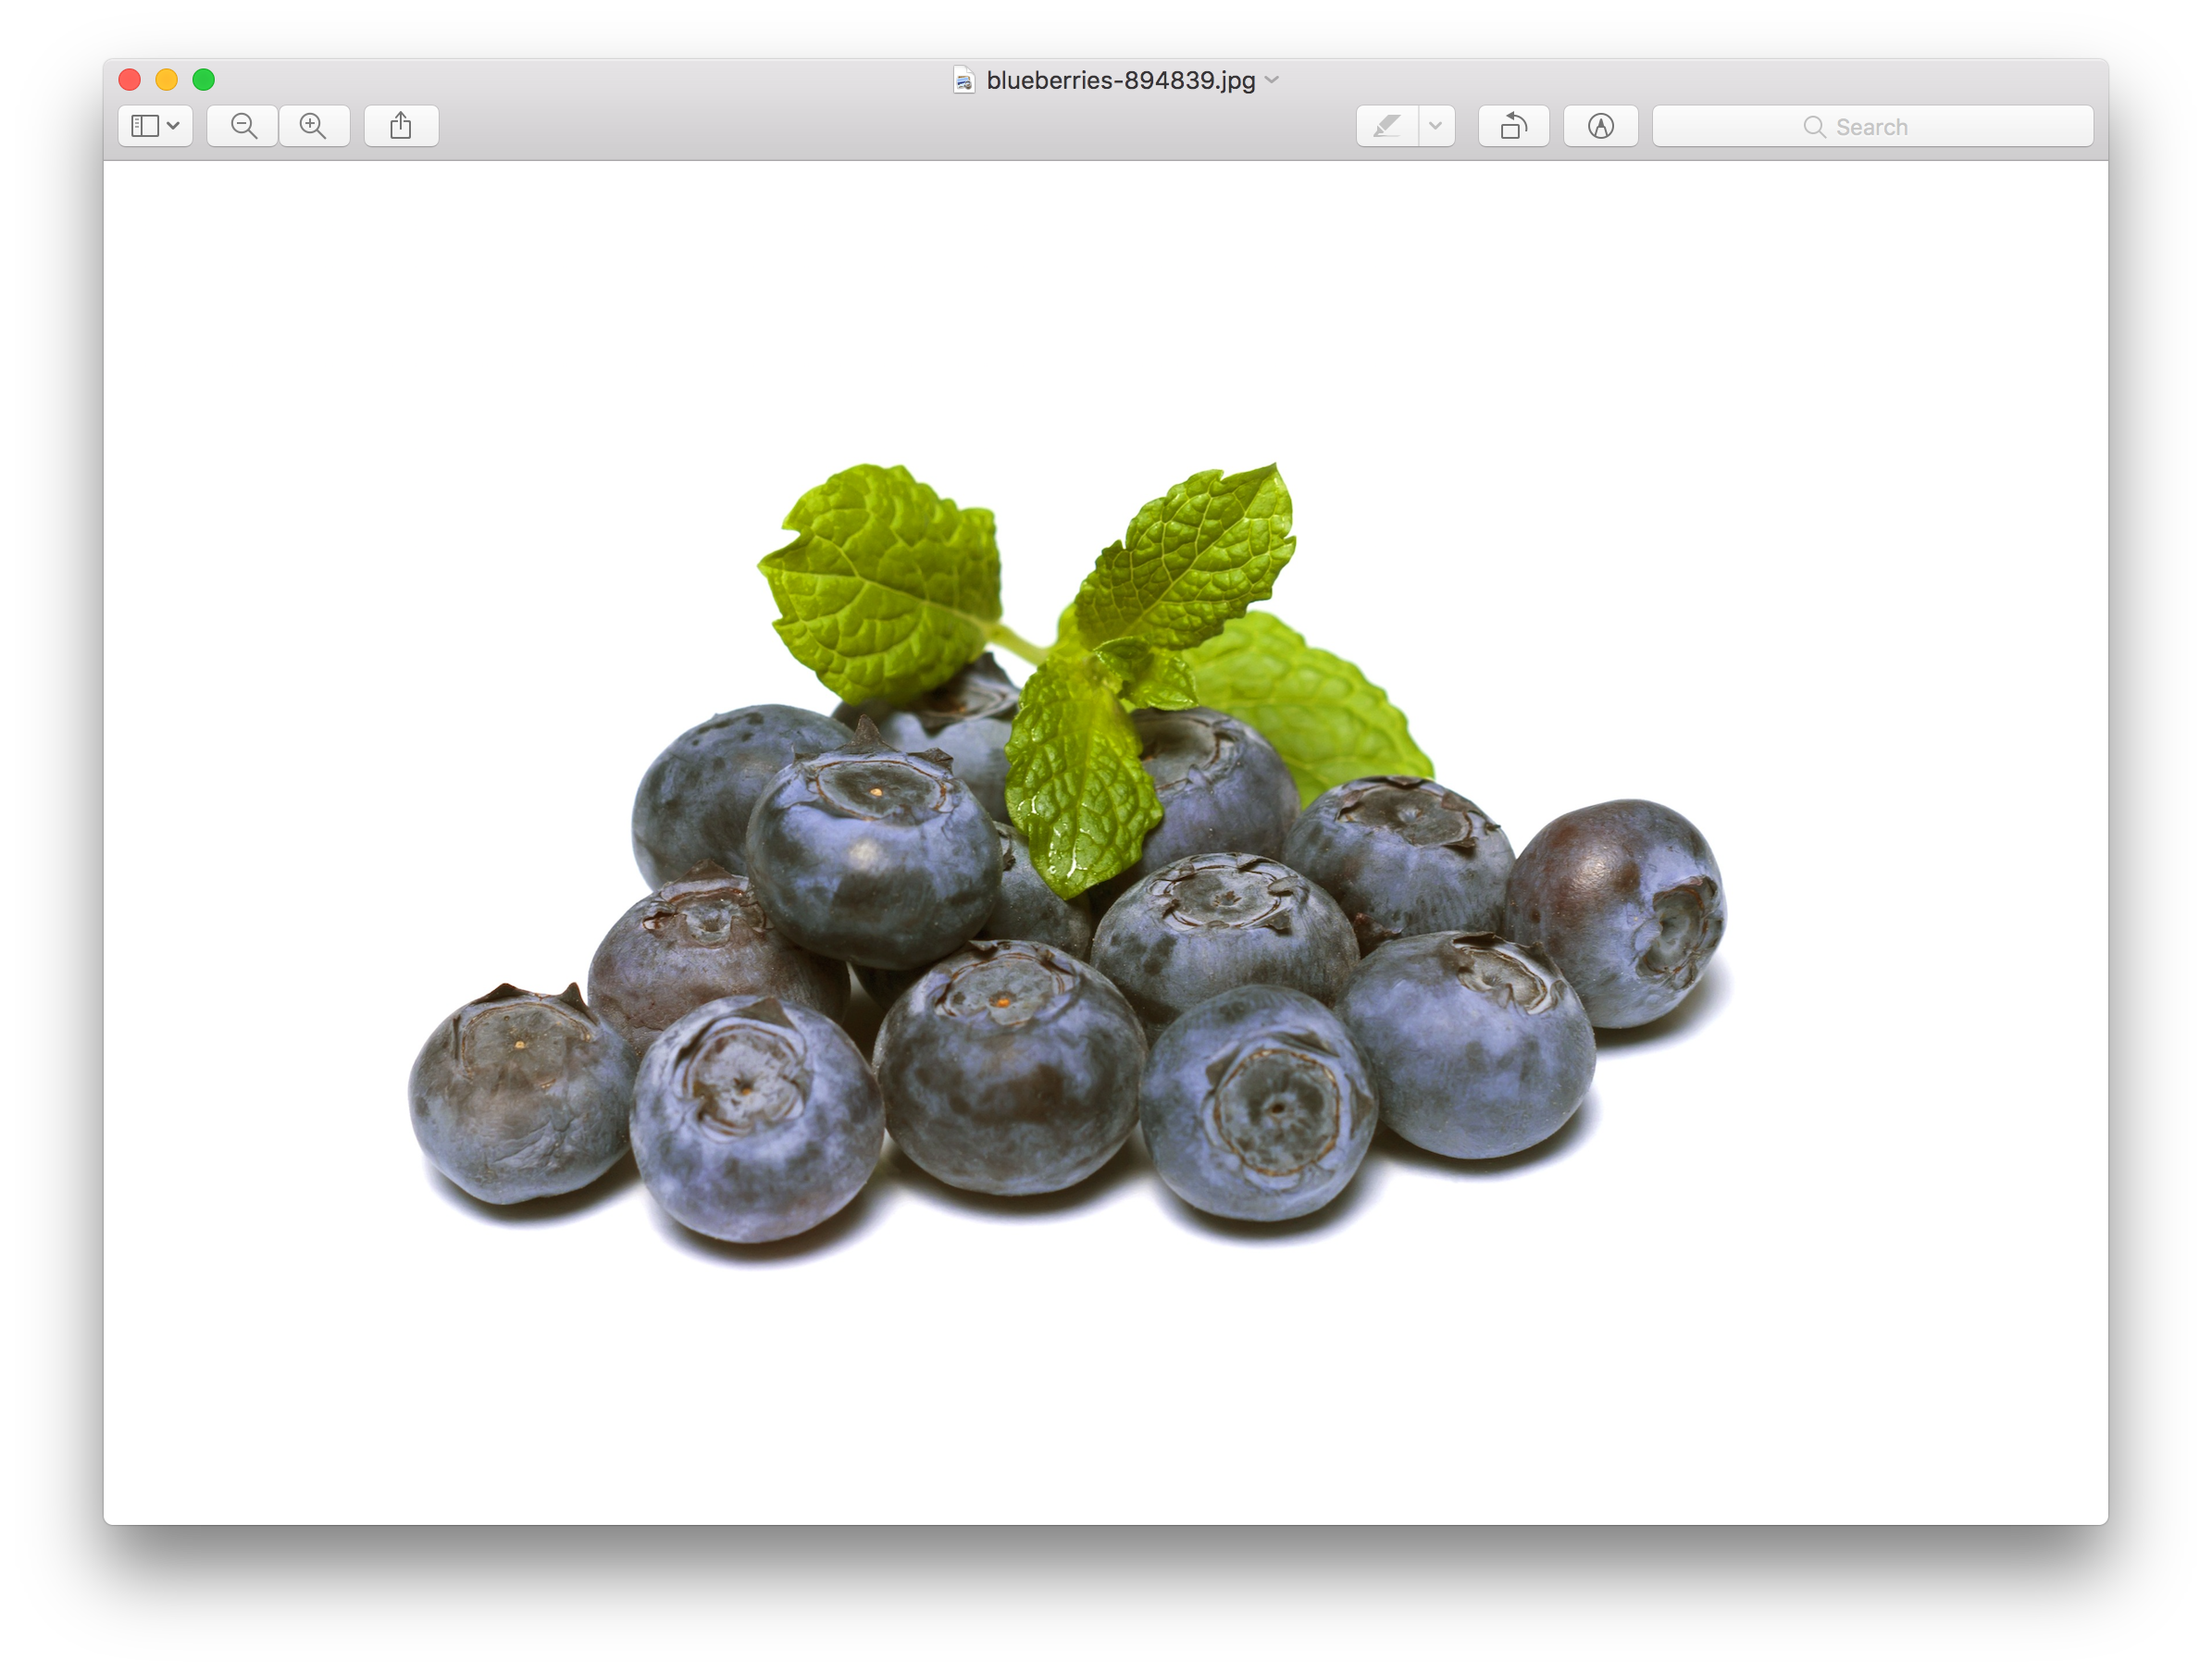
Starting Image

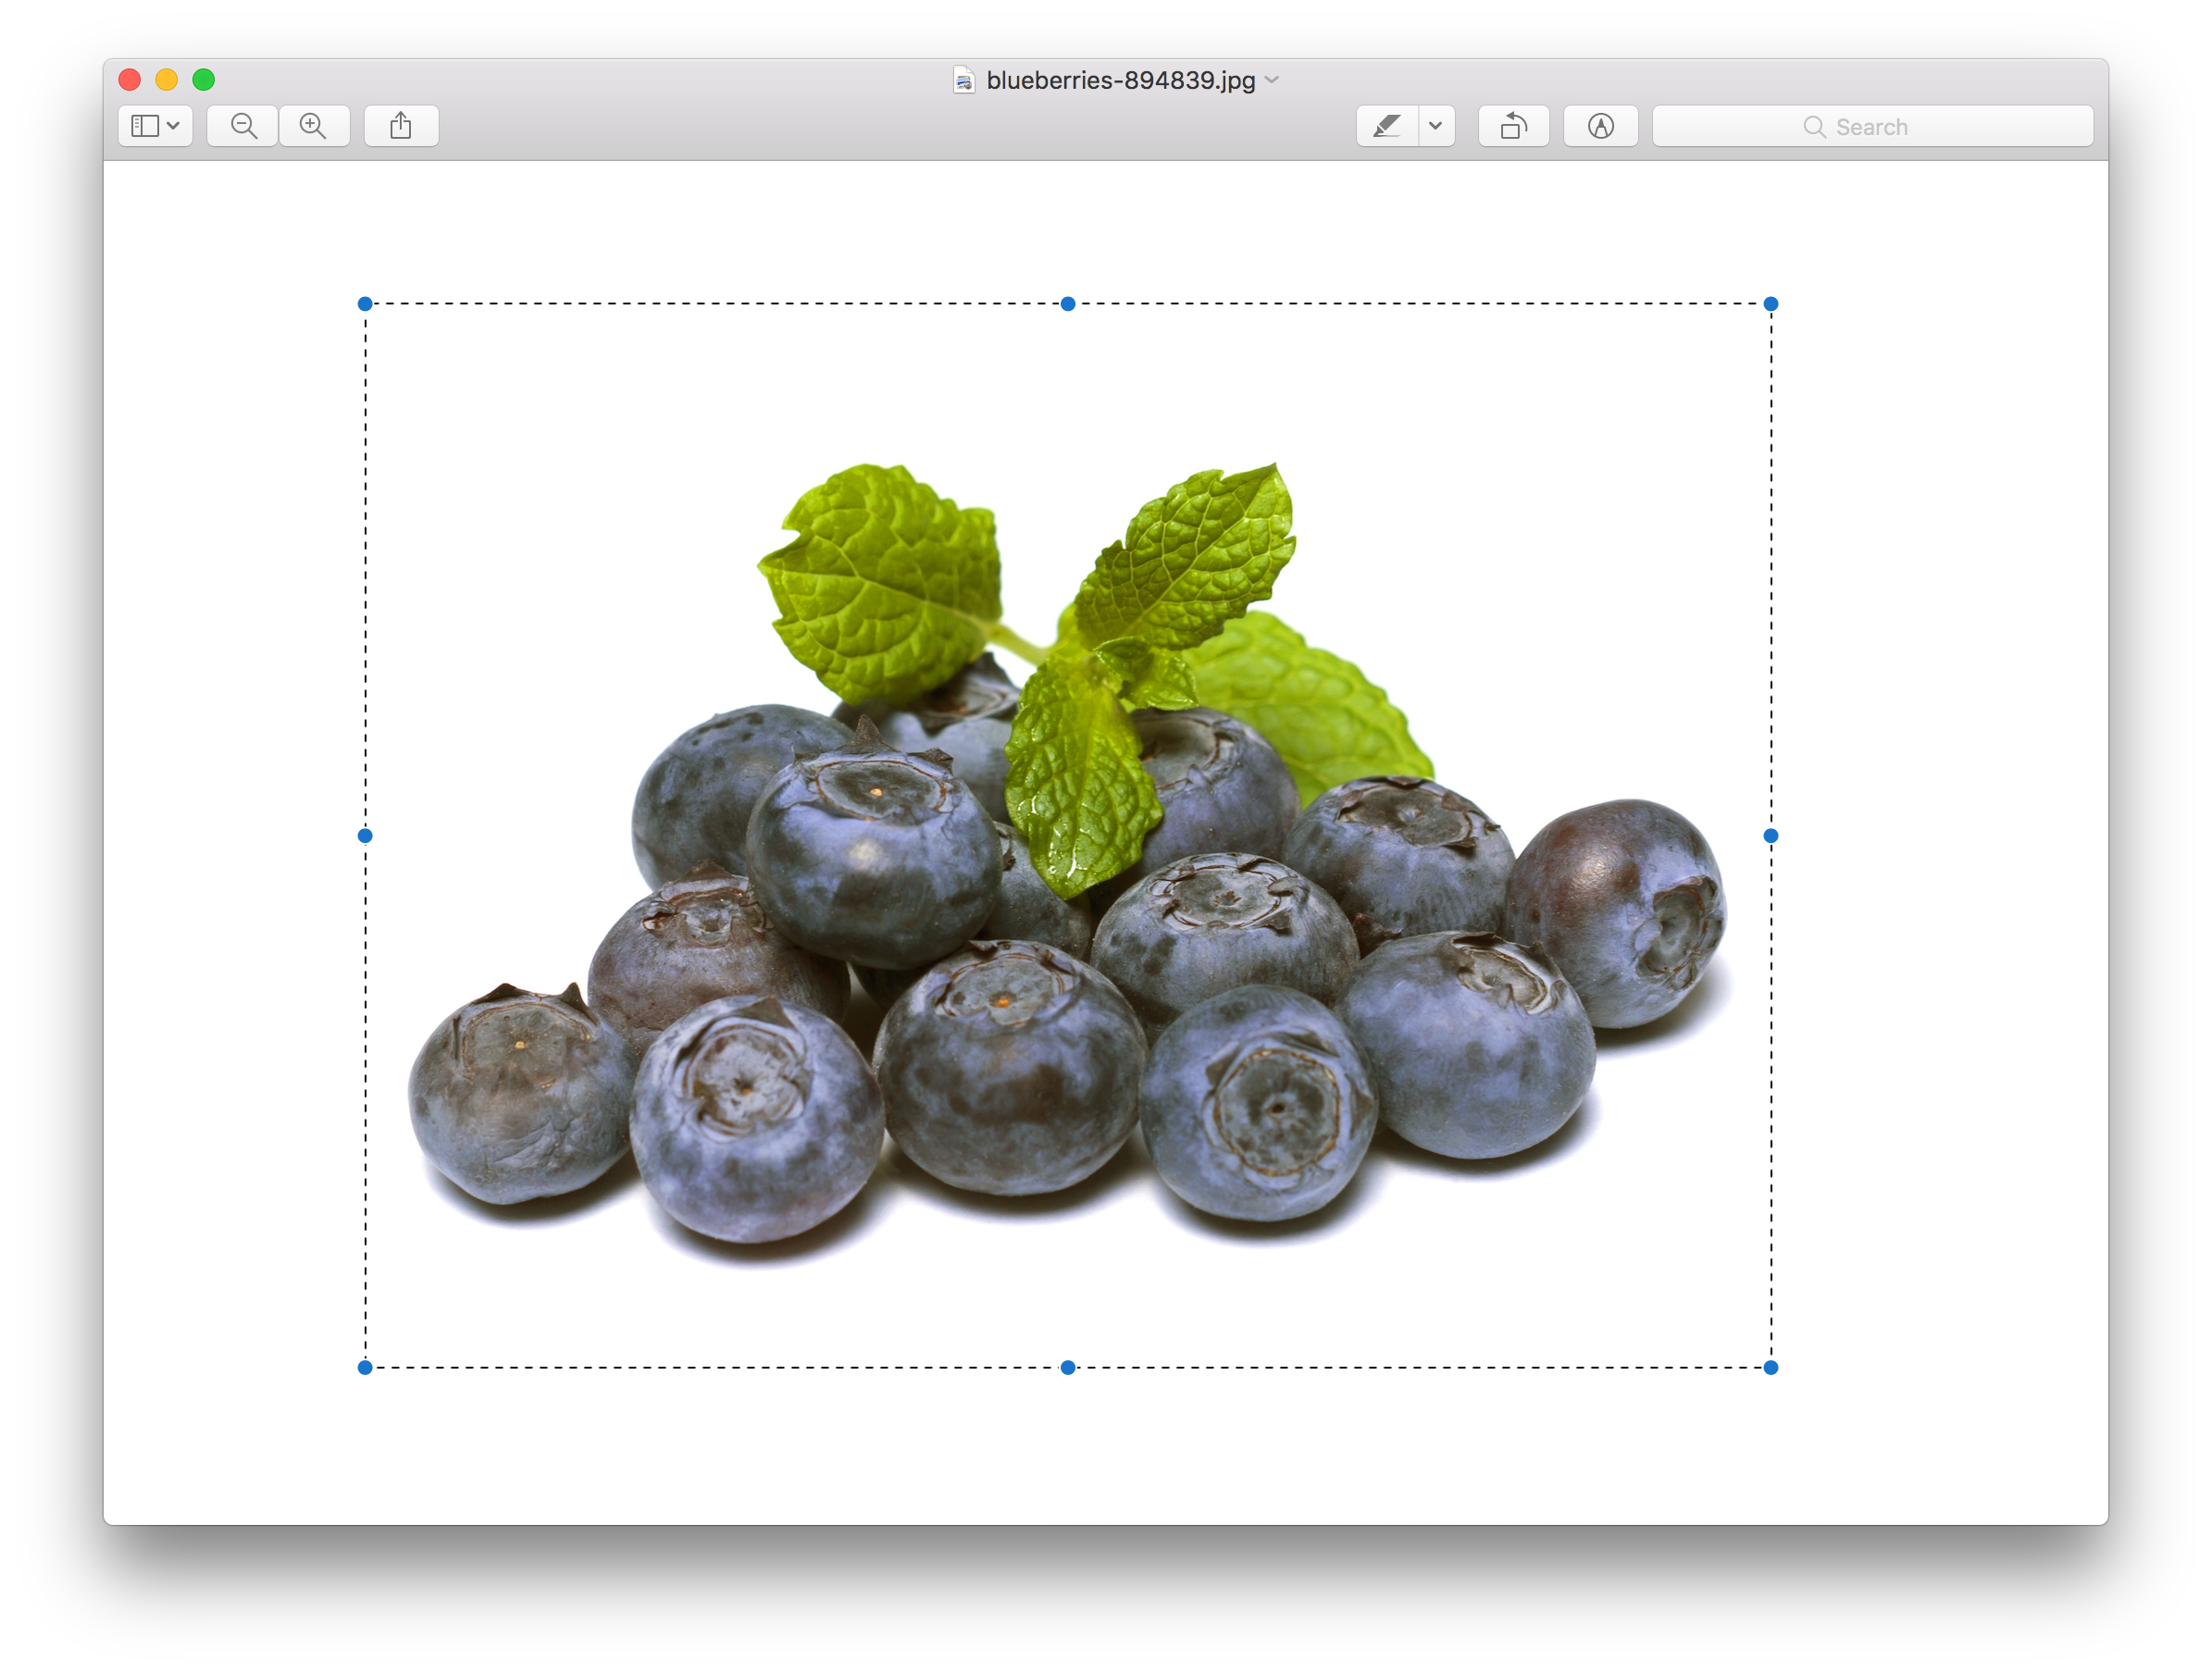
Closer Cropping

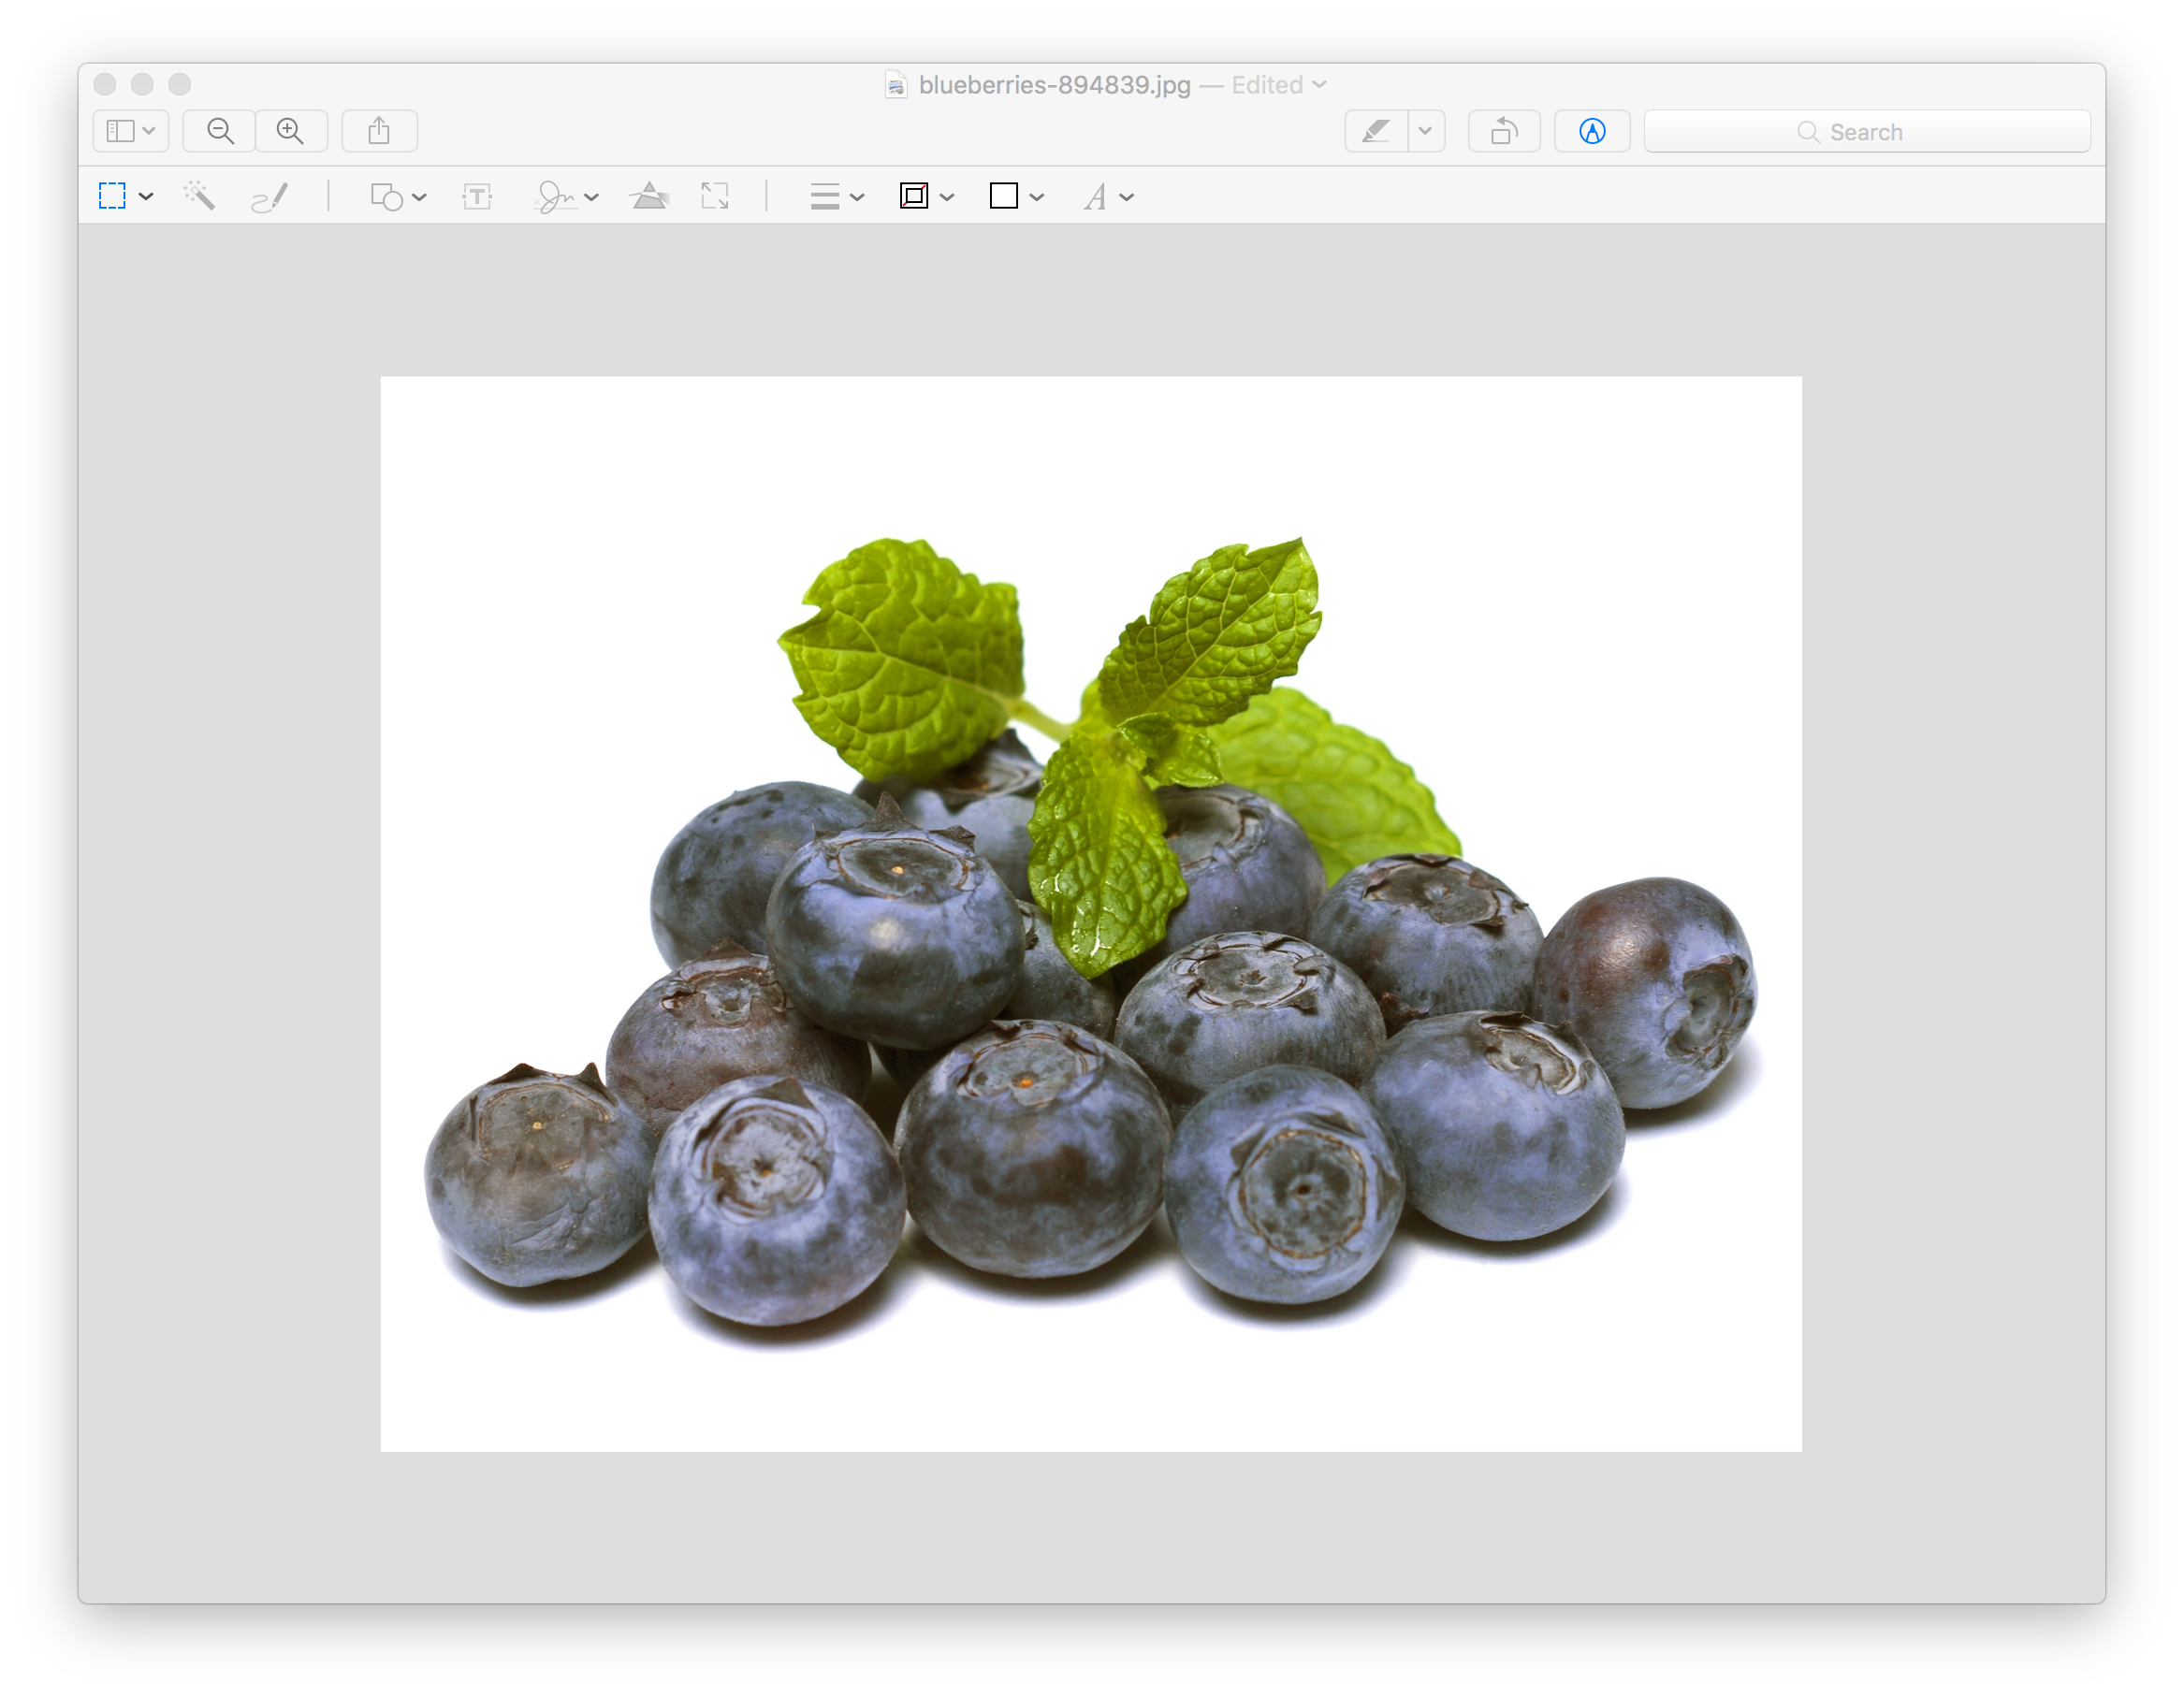
Cropped Image

Use the Original File as Much as Possible
Minimize Reprocessing
The more processing an image goes through (edit, save, upload to web, download from web, edit, save, etc), the more opportunities there are for the original image to be degraded.
This also includes saving an image from one program and opening it in another program.
It's always best to work with the original file instead of a file that's resulted from multiple steps of transformation.
Avoid Using Screenshots
While convenient, taking screenshots of an image will usually result in loss or transformation of image information and result in a lower quality version of the original image.
Minimize Detail Loss
If the image editing or photo program you are using to save and generate your image file gives you options for using compression, it is best to minimize the amount of compression to get the best quality output possible.
Vector Images and CAD files
Vector images and CAD images (e.g. SVG, EPS, AI) will appear sharp and perfect in the program they're being edited in, but they require a transformation or "translation" into pixels when saved as raster (e.g. JPG or PNG) files. It's during this process that you determine the quality of the output.
We recommend saving with the highest level of detail and sharpness at this stage to ensure that the resulting file is the best it can be.