Product Section Overview
A Product Section functions as a container for your products. These containers can help you segment and keep your products organized.
Create a Product Section
Open an existing presentation.
In the left hand Presentation Edit panel, click on the '+' under Sections and select Products
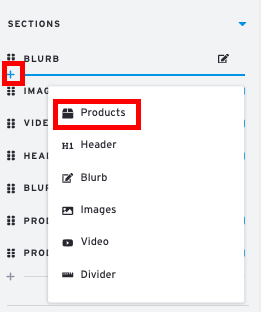
The new space will be inserted into the presentation, and in the Sections List, its Settings will expand.
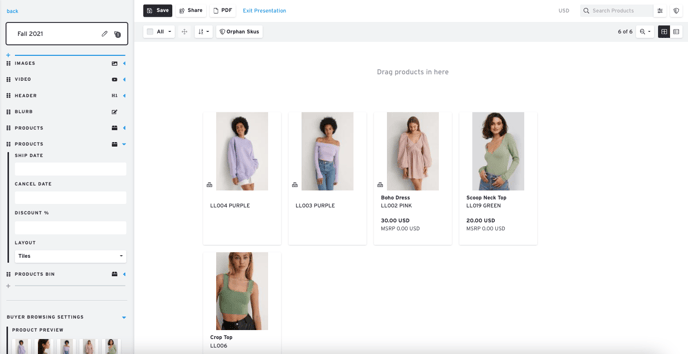
Drag and drop products into the section to group them together. If you have loose images recently added to the presentation, they may be in the Product Bin at the bottom of the page.
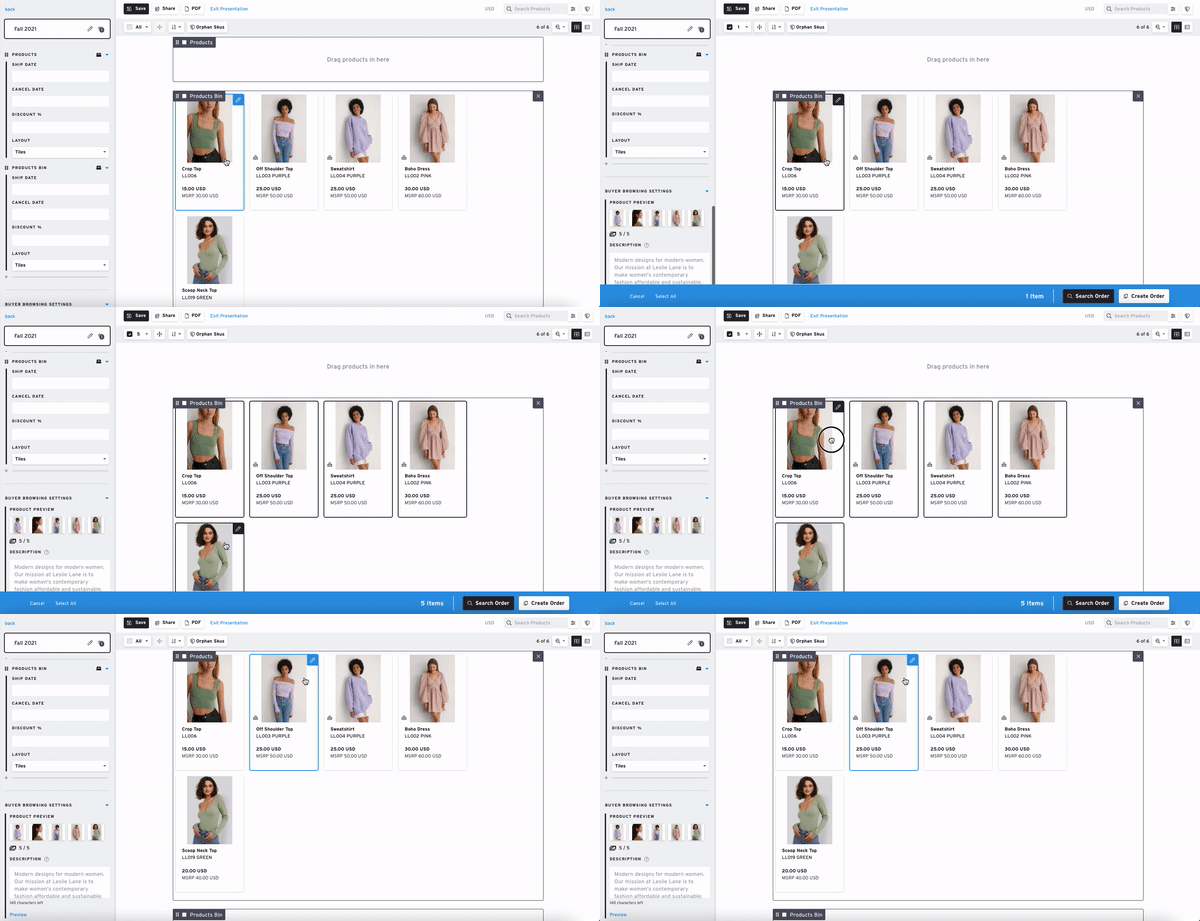
Adjust Settings
In the Settings menu you can apply a Ship Date, Cancel Date, or Discount to all products within the container. You can also change the Product Display Layout (Tiles or Featured).
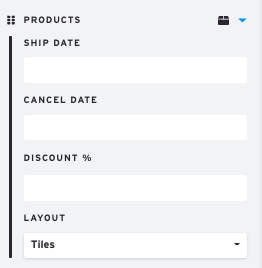
Tile vs. Featured Layout
Tile Layout
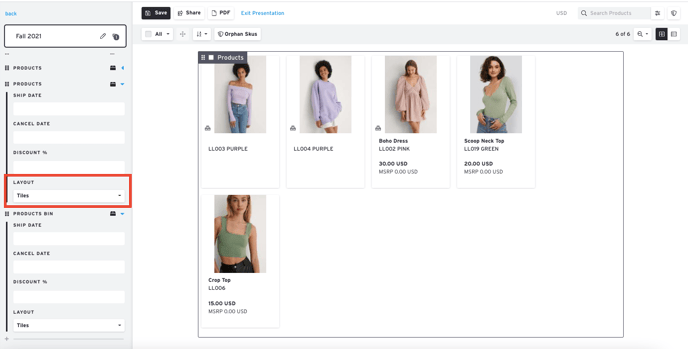
The "Tile Layout" is the default layout. The number of tiles per row depends on the width of the window. Each product is shown with basic information. Clicking into the product will reveal more details.
Featured Layout
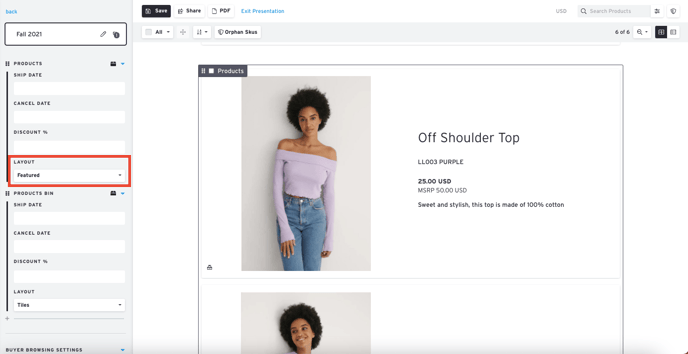
The Featured Layout displays each product in full-width with an expanded image and product information.
Rename Section
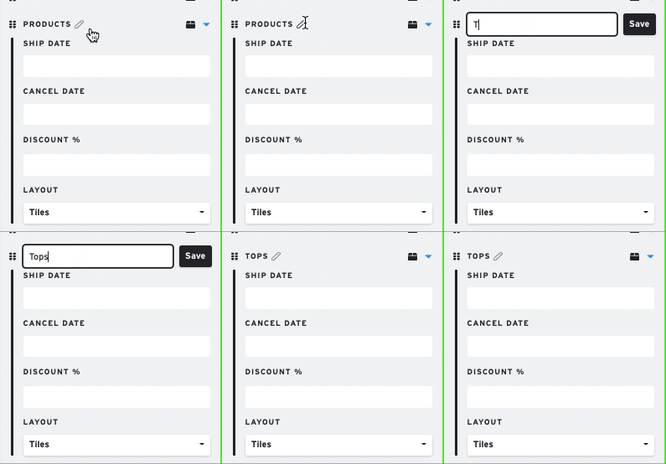
To keep better track of your Product sections, you can click on the pencil icon to rename them and click on the checkbox to save those changes.
