Set Up Invoicing
Overview
This article will guide you through setting up invoicing in Brandboom. Once you're set up, you can easily create, send, and manage invoices for your buyers.
How-to
Step 1: Enable Invoicing on your Subscription
First, let’s make sure the Invoicing feature is enabled on your Brandboom account.
-
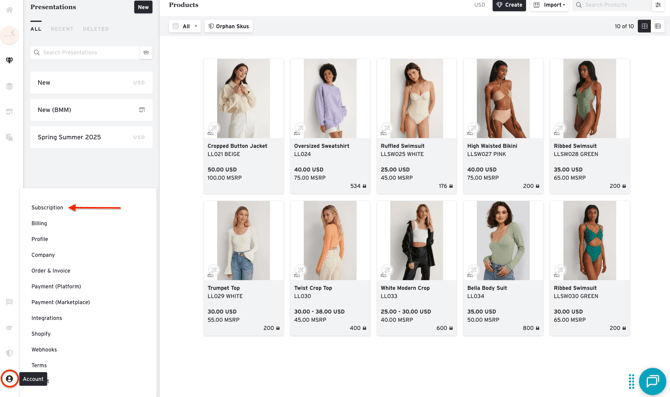
Go to your Subscription page.
-
Enable either Invoicing (for free plans) or Invoicing+ (for Start Up and Business plans).
NOTE:Note: For more details on the differences, see our article on [Invoicing vs. Invoicing+]
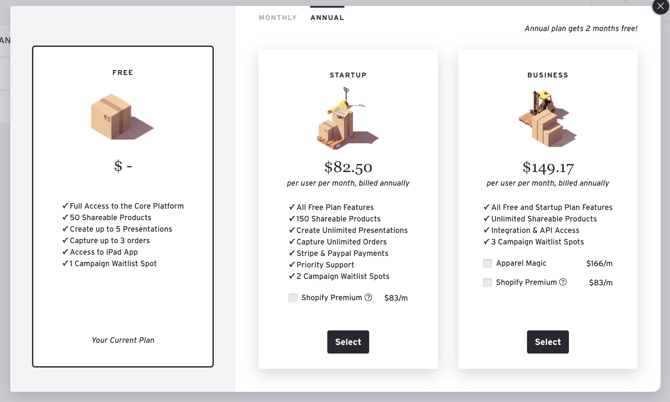
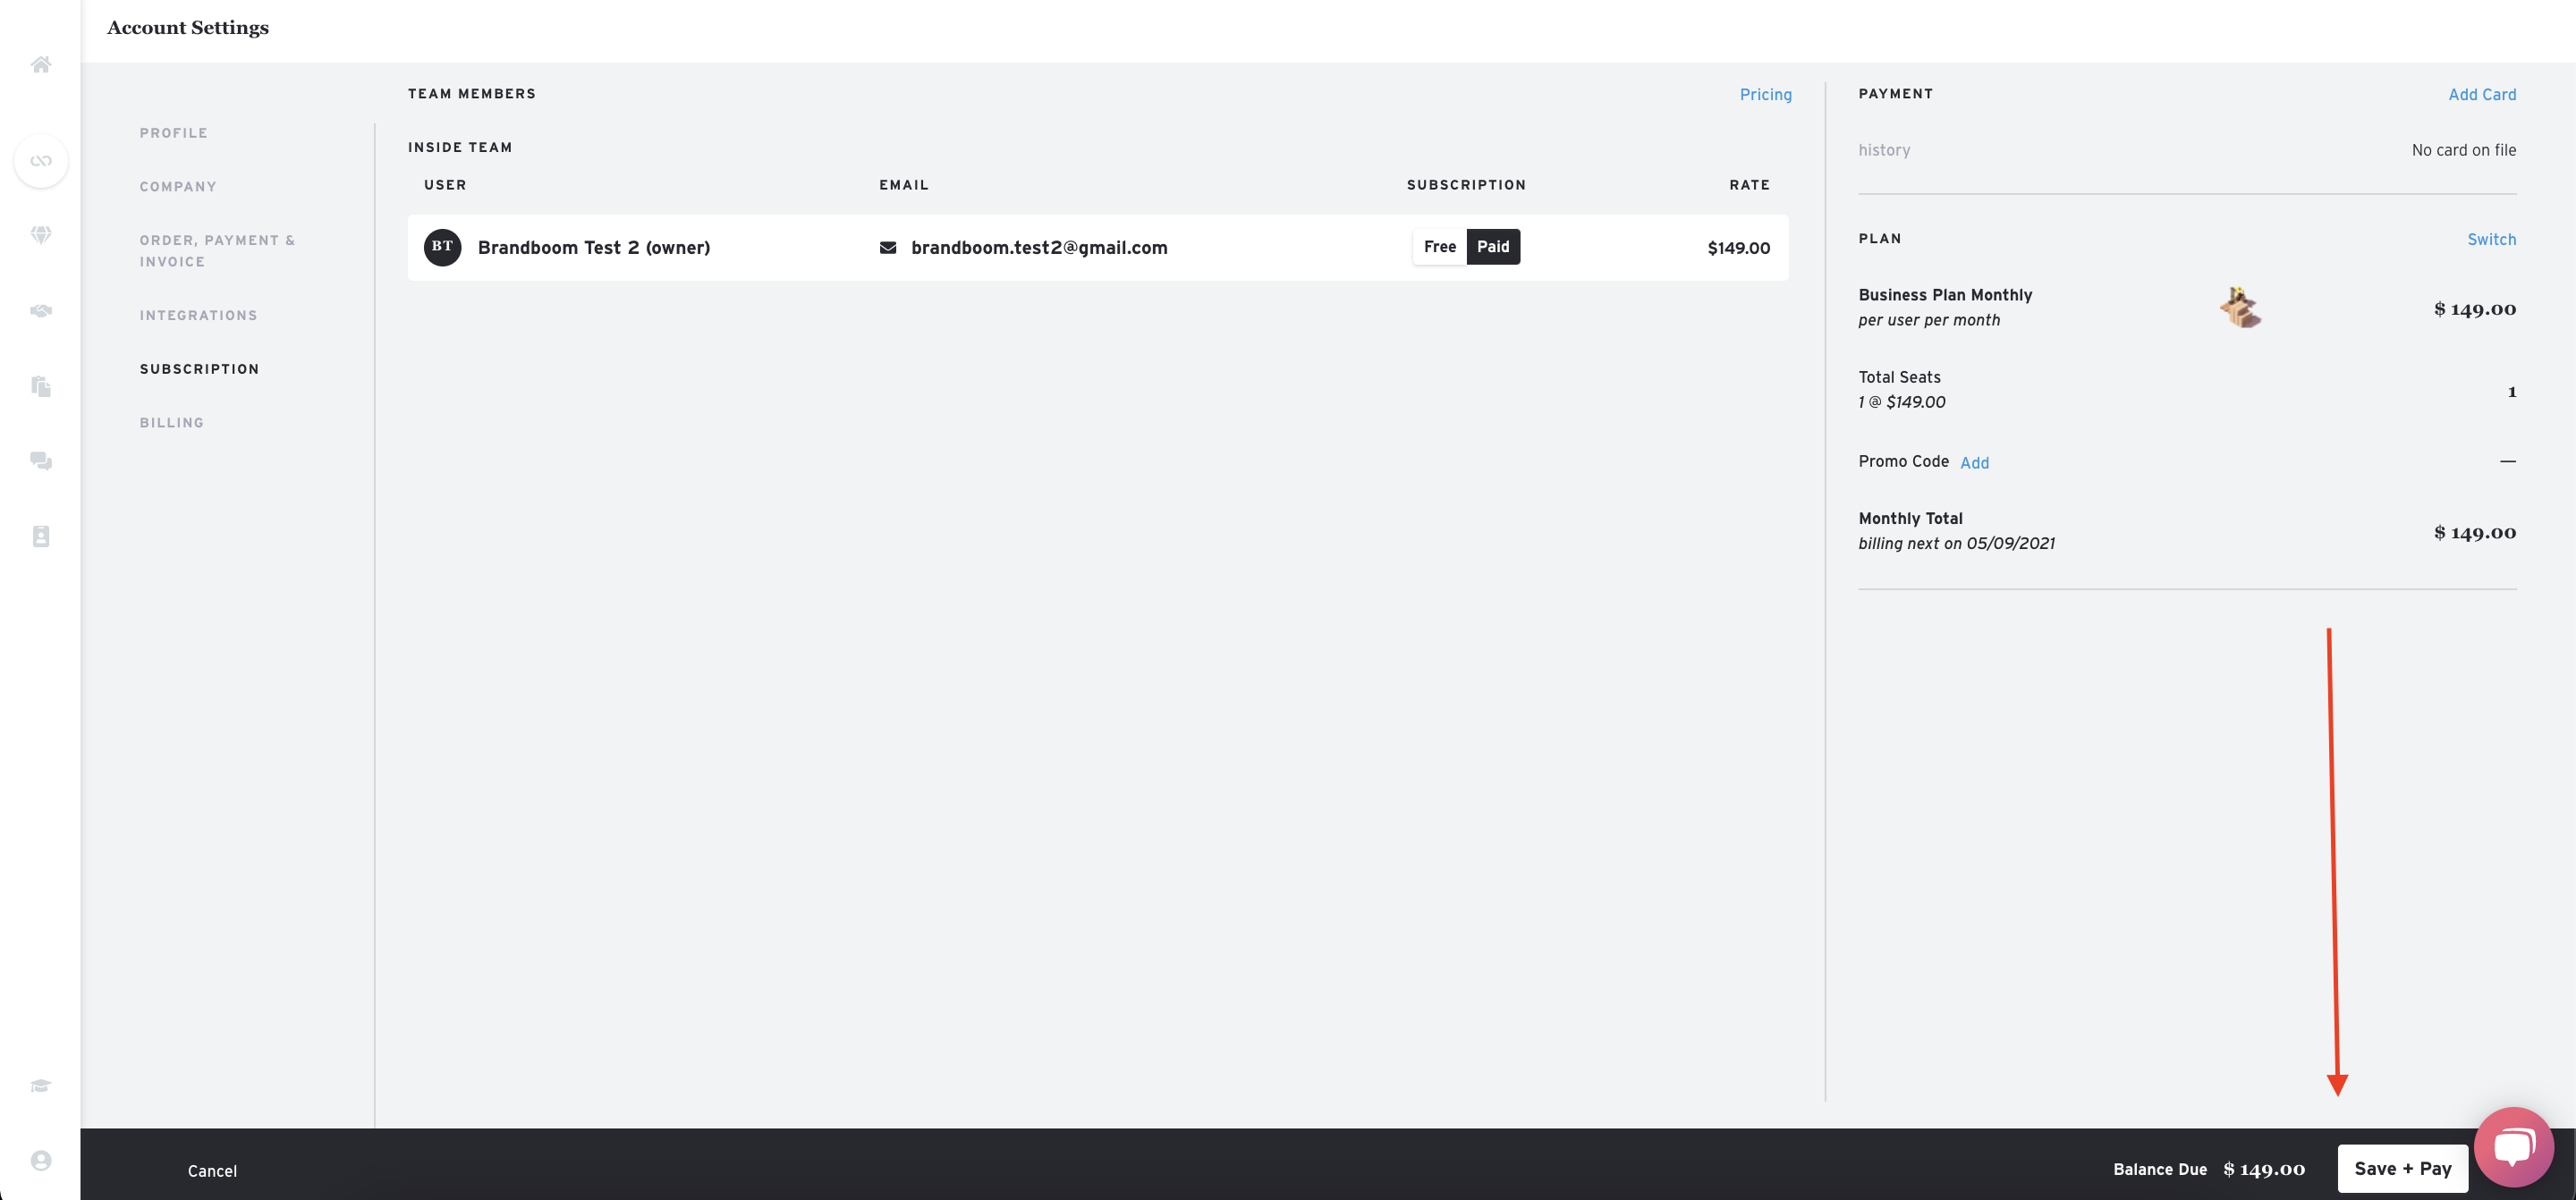
Once enabled, you'll see a prompt to continue setting up Invoicing in your Settings.
Step 2: Configure Your Invoice Settings
Next, you can customize your invoicing settings.
-
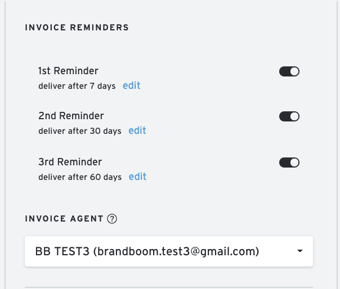
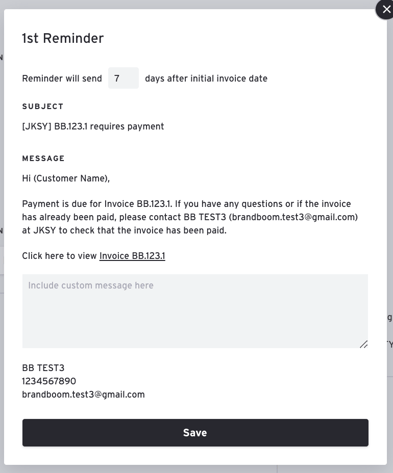
Manage Invoice Reminders You can set up to three automatic email reminders for unpaid invoices.
-
Choose when to send the reminder to your buyer.
-
Add a custom message. The email will automatically include your contact information and a link to the invoice.
-
To turn a reminder off, toggle the switch to "Off."
-
2. Set Your Invoice Agent
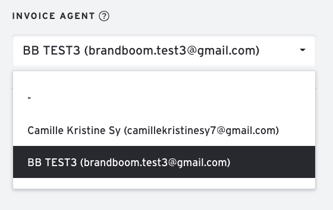
The Default Billing Agent is the person designated as the billing correspondent for new invoices.
-
Click "Update Billing Agent" to change the user.
-
Selecting "–" sets the order agent as the billing correspondent instead. This means they will receive replies and emails about invoices they create.
Step 3: Connect Stripe or PayPal
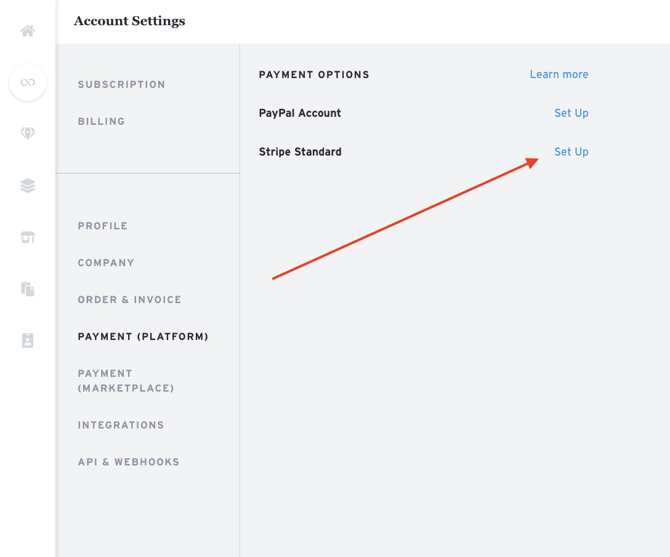
Connecting an online payment service allows you to manage everything inside Brandboom, from sending invoices to receiving payments.
- You can still use the invoicing feature to generate and send invoices and log payments manually without connecting an account.
For more information, see:
How to Set up Stripe for Invoicing
How to Set up PayPal for Invoicing
Next Steps: Start Invoicing!
Now that you've set up the basics, you're ready to start using the Invoicing feature.