Tag a Presentation
Overview
Applying a Tag to your Presentation allows you to easily track which marketing effort or display generated a sale. Any Orders placed from that Presentation will automatically inherit the tag, which displays as an Order Tag. This makes it simple to trace an order back to its origin.
Note: Applying a Presentation Tag will not retroactively apply the Tag to Orders that have already been placed. Tags will only be visible on the Seller side.
How-to
Create a new Presentation Tag

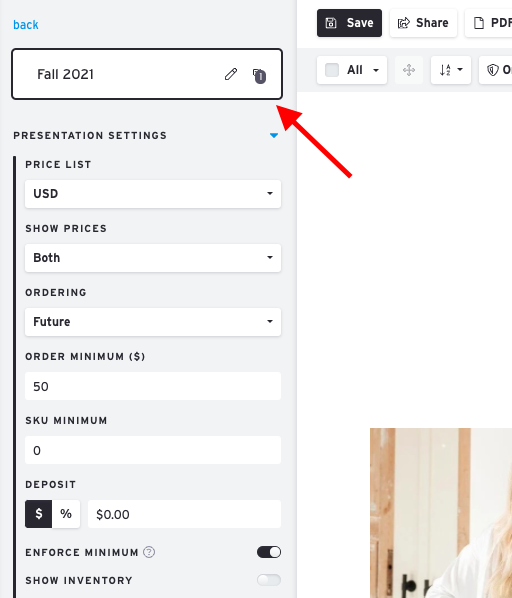
In the Presentation Editor, click the Tag icon to open the Tags menu. Click 'Edit Tags' to open the Tag Manager.
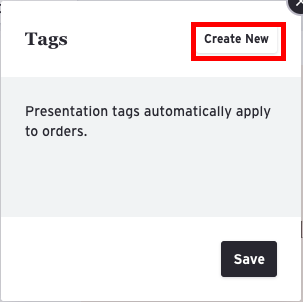
From the Tag Manager click 'Create New' and name your new Tag. You also have the option to add it a Tag Group.
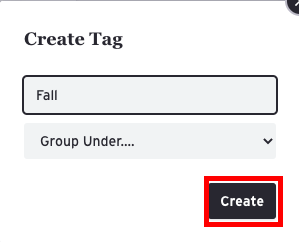
Click 'Create' to finish.
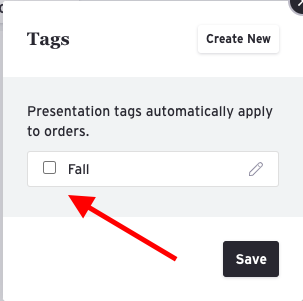
Once the new Tag has been created, it will be added to your list to select.
Apply a Presentation Tag
From the Tag Manager, check the box for the tags you want to apply and click Save.
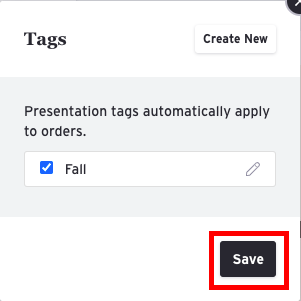
The Tag will now be applied and you will see a number on the Tag icon that represents how many total Tags have been applied.
Now, whenever a Buyer writes an Order through this presentation, the Order will automatically carry the Presentation Tag onto the Order as an Order Tag. Tags will only be visible on the Seller side.
Presentation Tag to Order Tag
See Order Tags for more information on how these Presentation Tags convert to Order Tags for easier Order management.